
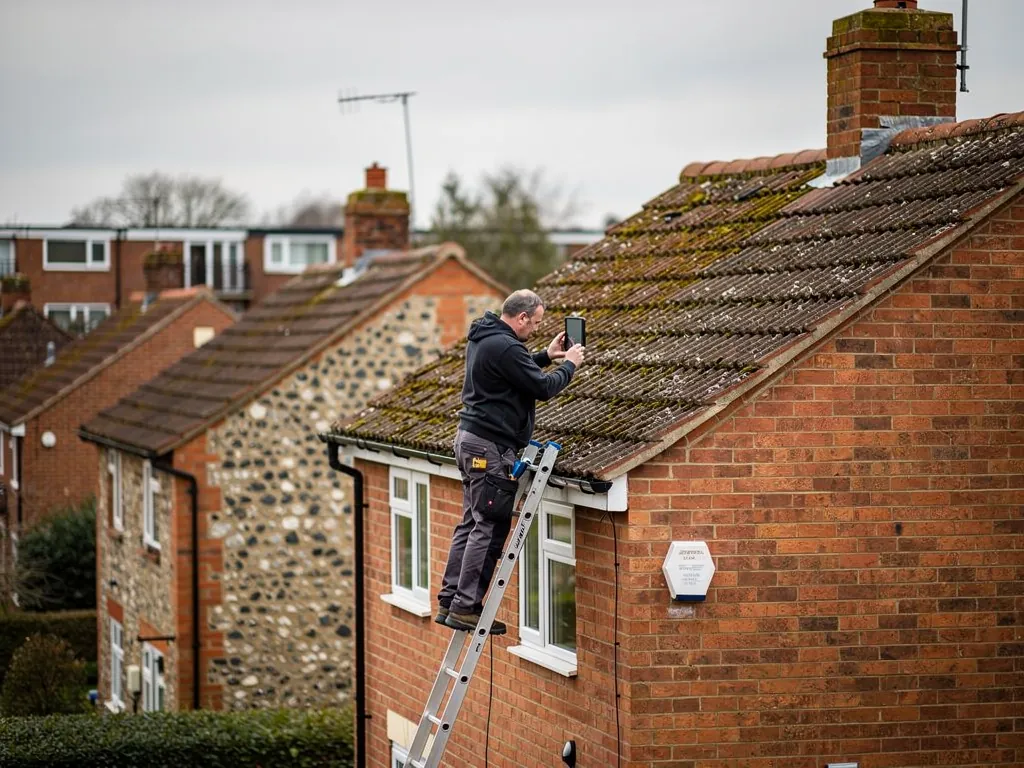
You can learn more about a pitched roof from ten minutes in the loft than from an hour on the pavement looking up. The underside of the roof shows what the tiles are hiding: where water has got in, where air cannot get out, which timbers are sound and which are not. A loft check costs nothing, needs only a torch, and is worth doing twice a year, once after the winter and once before it. It is not a substitute for a trained eye on the roof itself, but it tells you whether you need one. This guide walks through the loft in the order we would do it, with the safety points first because they matter most.
Before you go up
Treat the loft as a work area. Wear sturdy shoes, long sleeves, gloves and a dust mask, since insulation fibres and decades of dust irritate skin and lungs. Take a bright torch and a phone for photos, and leave a note with someone at home if you are alone. Open the hatch fully and check the ladder is stable before you put weight on it.
The ceiling below you is usually plasterboard, which will not carry a person. Step only on the joists (the horizontal timbers that run across the loft floor) or on boards laid across them, and test each step before you commit. If the loft is boarded in one area only, resist the urge to wander off the boards. Insulation lies between and over the joists and hides where they are, so poke with a torch handle before you step.
Two other hazards need respect. If you see any old textured or sprayed material, lagging around pipes or loose board that you suspect might contain asbestos, leave it untouched and do not sweep or vacuum near it; our answer on an asbestos survey before roof work explains the next step. And if you find droppings or signs of bats, stop disturbing the area. Bats and nesting birds are protected, and work may need timing or a survey first.
Start with daylight
Switch the loft light off, or wait until the torch is down, and let your eyes adjust. In a healthy roof you should see almost no daylight from underneath. Pinpricks of light at the eaves are normal where there are ventilation gaps. Light through the slope itself is not. A bright speck near a ridge, a hairline along a valley or a glow where a chimney meets the tiles means there is a gap, and where light can get in, wind-driven rain can follow.
Look along the underside of the roof covering. On older houses you will see the back of the tiles and a layer of underlay, the waterproof sheet laid under the battens. Many roofs built before the 1960s have bitumen felt that has gone brittle, cracked or fallen away in patches, and some have no underlay at all, just the pointed backs of the tiles. Modern breathable membranes look like a grey or black sheet, slightly rippled between the rafters. Sagging that holds water, torn sections or sheets that have been pushed aside by tradesmen deserve a note and a photo.
Reading stains, damp and rot
Stains on timber tell a story if you know how to read them. A dark ring or tide-line around a rafter, a batten or the chimney breast is old water that has dried. A wet patch that darkens the timber, drips or leaves a damp film is current. Touch it with a gloved finger, then check again a day or two later and after rain. Water seldom enters directly above where it appears; it travels along the felt and down the rafters, so the visible stain may sit a metre from the hole.
Look at the wood, not just the colour. Sound timber is firm and rings slightly when tapped. Wet rot leaves it dark, soft and crumbly, and a screwdriver sinks in easily. Dry rot is rarer and more serious, showing as brittle brown cuboidal cracking and sometimes a grey-white skin or a mushroom smell. If you suspect either, photograph it and do not poke around. Rafter feet that rest on the wall plate (the timber bedded on top of the wall) are a place to look closely, because water tracks down to them from leaks above.
Do not mistake a tidy water mark for a harmless one. Old stains from a leak that was fixed years ago are common, but a mark that looks fresh after dry weeks is a sign that the leak is still active or that condensation is the cause. Our guide to investigating damp and condensation in roofs shows how to tell leaks from moisture produced inside the house.
Condensation, ventilation and insulation
A loft is cold on purpose. Warm air from the rooms below leaks upwards, meets cold timber and cold felt, and drops its moisture as condensation. A roof copes with this if air can move through, which is why loft spaces have ventilation at the eaves and sometimes at the ridge. When the ventilation is blocked, the moisture stays, and the symptoms are easy to spot: tiny water droplets on the underside of the felt, black mould speckles on timber, rusty tips on nails that poke through the roof boards, and damp or clumped insulation.
The commonest cause is insulation pushed into the eaves, where the roof meets the wall. When it was topped up, someone stuffed it right to the edge, and it now blocks the gap that lets air in. A careful pull-back of the insulation at the eaves, with a baffle (a rigid plastic or card channel that holds the insulation clear of the felt) fitted to keep the air path open, often cures it. Recessed downlights that were cut through the ceiling below can also let a lot of warm moist air upward, as can an unsealed hatch.
The insulation itself is worth a look. Mineral wool that has been compressed, soaked or flattened loses most of its value, and thin blankets laid decades ago are common. If you find a foam applied directly to the underside of the roof, rather than a quilt laid on the floor, that is spray foam, a different matter altogether: it can trap moisture against the timbers and make the roof hard to inspect, and some lenders have declined mortgages on homes with it. Our spray foam insulation pages explain what to do if you have it.
Chimneys, pipes and other penetrations
Anything that passes through the roof is a possible leak. If the loft contains a chimney breast, check its sides for staining and for a tidemark where wet has soaked into the brickwork. A damp patch low on the breast can point to failed flashing or a cracked flaunching (the mortar around the base of the pots) above. Soil vent pipes, extractor ducts and the rear of a roof window should be dry and tight to the roof timbers.
Check the water tank and pipes too. A tank with no lid, or one that overflows into the loft through a failed float valve, can look like a roof leak from below. Make a note of any lagging that has dropped from pipes, because a frozen pipe in a loft is a separate problem that can do as much damage as a missing tile.
Different lofts, different things to check
The shape of the timbers tells you how the roof was built, and that changes what you are looking for. Houses built from the 1960s onward usually have a trussed roof: factory-made triangular frames, spaced about 600 mm apart, with thin diagonal braces called webs zigzagging between the rafter and the ceiling tie. Those webs are not to be cut, moved or used as storage hooks. If one has been sawn through to make room for a water tank or a boarded area, the roof is carrying load in a way it was not designed for, and a roofer or structural engineer should see it.
Older houses, especially Victorian and Edwardian ones, have cut roofs: thick rafters, purlins (the horizontal beams that support the rafters mid-slope) and struts that carry the weight down to internal walls. Here you are looking for rafter feet that have rotted, purlins that sag, and old woodworm flight holes. A few small holes in old timber are common and usually long dead. Fresh pale dust beneath the holes suggests the grubs are still active.
If your loft has been boarded, converted or fitted with a hatch ladder, look at what was done to the roof structure at the time. Dormer boxes, new openings for roof windows and extra insulation all alter the roof, and a conversion that was done without the right sign-off is something a buyer's solicitor will ask about. Where the loft has a finished room, check from the outside as well, since the inspection from inside covers less ground.
What to record and when to call someone
Take photographs as you go, with something in frame to show scale, and write down where each one was taken, for instance "rear left slope, third rafter from the chimney". Photos taken on a calm dry day give a roofer something to compare with later and give an insurer a dated record. Our wider roof inspection checklist shows what a professional covers on the outside to complement what you see inside, and our answer on whether a roof inspection includes the loft shows how the two are combined.
Some findings can wait for the next dry spell: a few specks of light at the eaves, a dry old tidemark, some dusty mould on a cold north slope. Others should not wait: a dripping rafter, a soft or crumbling timber, a ceiling stain growing below, signs of sagging or daylight showing through a slope. In those cases get a roofer out. If water is coming in now, our emergency roof repairs team prioritises leaking roofs and makes them safe first.
When you want a second pair of eyes, our free survey includes the loft and the outside, with photos of your own roof and a fixed written quote if work is needed. Where the roof is sound we say so. You can read how we approach it on our roof inspections in Basingstoke page, or ring 01256 213956 to book a visit.
