Thermal imaging has a reputation for revealing what is hidden, and on the right roof under the right conditions it earns it. A thermal camera does not see through tiles or membranes. What it records is the temperature of the surface it points at, shown as a colour map, and temperature differences can point to things going on underneath: wet insulation that holds heat differently from dry, missing insulation that leaks warmth, trapped water in a flat roof build-up, or air escaping through gaps. Used well it narrows a search from a whole roof to a few square metres. Used carelessly it produces pretty pictures that prove nothing. This page explains what a thermal survey can and cannot do, and how it compares with the other ways of checking a roof.
How thermal imaging works
Every object gives off infrared radiation in proportion to its temperature. A thermal camera detects that radiation and converts it into an image, with warmer areas shown in one colour and cooler areas in another. The camera reads surface temperature, not the temperature of what lies beneath, so the technique relies on the way heat moves through and out of a material. Wet materials store and conduct heat differently from dry ones, which is why damp insulation can show up as a warmer or cooler patch than the dry insulation around it. Gaps and thin insulation let heat travel through faster, which shows as an area that is warmer on the outside in cold weather or cooler in hot weather.
The result is only meaningful when there is a temperature difference to read. On a mild, overcast day with the inside and outside at the same temperature, a thermal image is flat. The best conditions are those where there is a gap between inside and outside temperature, and where the sun has not recently heated the surface unevenly. That is why surveys are often carried out on a cool evening after a sunny day, when a wet flat roof releases heat more slowly than dry areas, or on a cold morning with the heating on.
What it is good at
Finding wet insulation under flat roofs. This is the classic use. A flat roof covered in membrane can hide saturated insulation for years, because water enters at a small defect and spreads through the layers beneath. On the surface everything may look sound. On a thermal image, the saturated area holds its warmth after sunset and glows against the dry parts. The survey tells you where to take a core sample or a moisture reading, which saves stripping large areas to find the problem.
Mapping heat loss. Gaps in loft insulation, compressed areas, cold bridges where timber or fixings carry heat across the insulation and missing sections around hatches and downlights all show as hot spots from outside or cold spots from inside. For a homeowner planning to upgrade insulation, an image makes the case clearly.
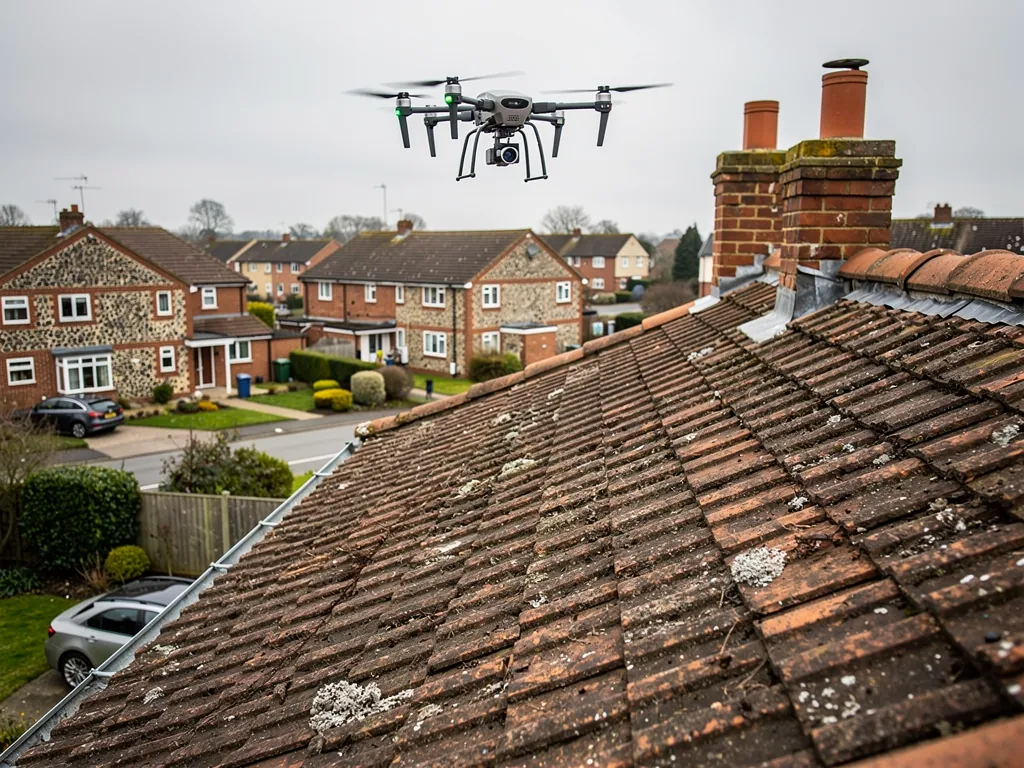
Screening large roofs. On a commercial building with a big flat area, a survey from a drone or from the roof can cover the whole surface quickly and mark areas worth a closer look. It acts as a filter, not a conclusion.
Tracing the path of a leak. Combined with a moisture meter, a thermal image can show the footprint of damp in a ceiling or wall, and the shape of a patch often suggests where it began.
Where it misleads
The limits are as important as the strengths. Sunlight warms some parts of a roof more than others depending on colour, angle and shelter, and these differences can look like defects. Reflective surfaces, such as shiny metal or wet membrane, can reflect heat from the sky or nearby buildings and confuse the reading. Different materials have different emissivity, meaning they radiate heat differently, so a camera that is not set correctly gives false temperatures. Wind cools the surface and masks small differences. Shadows from trees and chimneys leave cool patches that have nothing to do with moisture.
The technique also has depth limits. A thick covering or deep insulation blurs the pattern, so what you see on the surface may be a smear of what lies below. On a pitched roof of tiles, the air gap between tiles and underlay muddles the heat signal, so thermal imaging from outside is much less useful on a sloping tile roof than on a flat one. Finally, it detects temperature differences, which are symptoms, and different causes can produce the same symptom. A cold patch might be wet insulation, missing insulation or a ventilation gap. Only a second check can say which.
Thermal compared with other methods
| Method | Best for | Main limit |
|---|---|---|
| Hands-on inspection | Tiles, slates, flashings, ridges, chimneys, loft timbers | Needs safe access and time on the roof |
| Drone photography | Overview, hard-to-reach roofs, records | Cannot touch or lift anything |
| Thermal imaging | Wet insulation on flat roofs, heat loss, large areas | Needs a temperature difference, and findings need confirming |
| Moisture meter | Confirming dampness in timber, plaster and screed | Reads small areas, so you need to know where to point it |
| Water (hose) test | Finding the entry point of a leak | Slow and must be done carefully |
The methods work as a team. A drone shows the overall condition, a thermal camera flags suspect areas, a moisture meter confirms them, and a roofer's hands and eyes diagnose the fault. Our guide to drone roof surveys explains the first of these, and the question of how the findings are written up is covered on our roof condition reports page.
Thermal imaging on different roofs
On flat roofs it earns its keep, because the build-up is sealed under a membrane and the dampness is hidden. After sunset, areas of wet insulation retain heat and stand out. A competent operator then marks the suspect areas and takes cores or readings to confirm. For a roof that has leaked for years with no obvious entry, that can save both money and disruption.
On pitched tile or slate roofs it is a weaker tool from outside. Its better use is from inside, looking at the ceiling and the loft floor for insulation gaps and damp patches. In a loft with the heating on and a cold day outside, missing insulation shows as bright patches. Used inside a house it can also reveal where air leaks into the loft, which feeds condensation, a problem we cover in our guide to investigating damp and condensation in roofs.
On spray foam roofs, a thermal image can show where the foam is thin or missing, but it cannot tell you whether the timbers behind are wet. The RICS consumer guide warns that timbers can look dry on the visible face and be wet behind the foam, and some lenders have declined mortgages on homes with it, so the conclusion rests on a moisture check and a ventilation check, not on colour alone. Our spray foam insulation pages explain the options.
What a thermal survey report should show
A thermal report is only as good as its interpretation. Look for the date, time, weather and temperatures inside and outside, the camera used and the settings. A good report has paired images: a thermal view next to an ordinary photograph of the same spot, with a scale showing temperature range and a note of where each image was taken. It should flag which hot or cold areas are likely to be defects and which are explained by sun, shadow or construction. And it should say what follow-up was done to confirm them, such as a moisture reading or a core sample.
Be sceptical of a report that is nothing but coloured pictures. A scattering of red patches without explanation is not a finding. The value lies in the opinion that goes with the images, and in the recommendation that follows.
Preparing for a thermal survey
A little preparation makes the results far better. For a flat roof, clear debris and standing water if you can do so safely, because puddles and leaves distort the reading. Tell the operator about known leaks, previous repairs and any recent work, since a patch repaired last year will show differently from the original membrane. Note where the water appears indoors so the image can be matched to the stain. For an internal survey of a pitched roof, switch the heating on for some hours beforehand and, if possible, plan the visit for a cold day, because the camera needs a real difference between inside and outside to read.
Ask for access to the roof plans if you have them. Knowing where the outlets, upstands and insulation joints are lets the operator separate a genuine anomaly from a feature of the build. And agree beforehand what happens next, because the camera is the start of the process and not the end. If the operator finds suspect zones, you will want core samples or moisture readings taken the same day, so that the roof is not left with an unanswered question. Where cores are cut, the holes must be sealed properly, and a careful roofer does that as part of the job.
Thermal imaging and the wider repair decision
The end point is a decision about the roof: patch it, strip and re-lay part of it, or replace it. Thermal imaging helps here because it shows how far the trouble extends. A small patch of wet insulation around a failed upstand suggests a local repair, and the rest of the roof may be sound. A wide pattern of saturation across the deck suggests that the build-up has been compromised across the board and the whole roof should be stripped. Either way the camera helps you avoid replacing more than you need to or patching what cannot be patched. Our flat roofing team covers the repair side on the flat roofing in Basingstoke page.
Is it worth paying for
We have no sourced UK price range for thermal surveys, so we will not quote one, and costs vary with roof size, equipment and whether the work is done with a drone. Our page on how much a roof survey costs gives the figures we can stand behind for drone work. As a rule of thumb, thermal imaging is worth considering for flat roofs with a history of leaks and no clear cause, for large flat roofs where you need to target repairs or a partial replacement, and for buildings where heat loss is the concern. For an ordinary pitched roof with a suspected slipped tile or failed flashing, a hands-on inspection answers the question faster and for less.
We start with a free survey, photographing your own roof and checking it by hand, and we recommend thermal or other specialist testing only when it would change the answer. If you want to talk through whether it suits your roof, read about our roof inspections in Basingstoke, then phone 01256 213956.
