
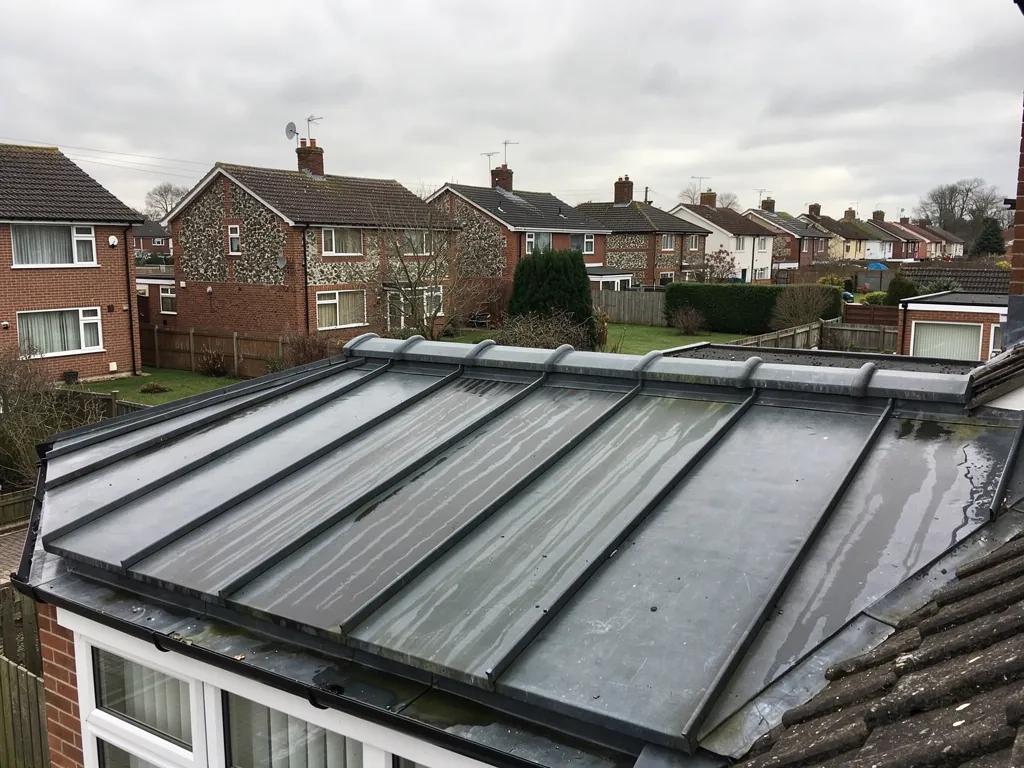
A failing lead flashing seldom announces itself with a flood. More often it gives a run of small clues: a stain that appears after the wind has been in the west, a patch of damp on the chimney breast, a grey strip along the wall that has started to curl. Most of those clues can be spotted by anyone willing to look, and catching them early usually means a small repair rather than a large one. This page lists the signs in the order you are likely to meet them, starting with what is visible from the garden, moving to the loft and the rooms below, and ending with what the signs add up to.
What you can see from the ground
Stand back from the house on a dry day with a pair of binoculars, or use the zoom on a phone camera, and look at every place where the roof meets a wall or a stack. Never use a ladder against the lead or lean on the roof edge. The following are the things to look for.
- Lifted or curling edges. The top edge of a flashing should be tight against the wall and pointed in. If it stands away, curls or flaps, the fixing or the pointing has failed.
- Gaps and loose mortar at the top. A dark line or a missing strip of pointing above the lead means the wedges are loose and the lead is no longer held.
- Visible splits. A bright line or dark slit in the grey, especially at a corner, a step or a fold, is a crack.
- Sagging or ripples. Lead that has crept down the slope under its own weight looks slumped, with horizontal ripples, and shows a gap at the top.
- Sealant or mastic. A black or grey bead along the edge is usually a sign of a previous leak, repaired without addressing the cause.
- Bright patches. Newly exposed lead where a crack has opened shows as a shiny stripe against the dull oxide.
Look also at the surroundings. A chimney with loose pointing, a pot that leans or a cracked flaunching is more likely to have flashing trouble, because movement in the stack works the lead loose.
What it looks like close up
Once a roofer is up there, the signs get more specific. We look for pinholes, which are tiny holes where corrosion or abrasion has worn right through the sheet, often along a line where leaves have sat. We look for thinning at the edges and corners, where the metal has been stretched. We look for work-hardened areas, where the lead has gone stiff and brittle after repeated movement, and cracks start at the bends. We look at the fixings, for rusted nails, loose clips and wedges that have fallen out.
Surface appearance matters too. Lead naturally weathers to a matt grey, and that is healthy. Heavy white crusting, powder or a dark, pitted surface is different: it suggests corrosion, often from acid run-off, from a bad mortar bed or from contact with another metal. A little white powder on newly laid lead is normal and clears; our answer on white powder on new lead explains the difference between that and a problem.
Signs in the loft
The loft side of a flashing is where evidence builds up. Take a torch up and look at the timbers around the chimney and along any wall that meets the roof.
- Damp or dark staining on rafters and battens near the stack or wall, with tide marks showing repeated wetting.
- Wet or discoloured insulation beside the chimney breast or the party wall.
- Rot or soft timber at the wall plate or round the stack. Press a screwdriver in gently; if it sinks, the wood is decayed.
- Daylight at the edge of the lead or in the chase.
- Drips or water trails down the brickwork of the chimney breast after rain.
- Efflorescence, a white salty bloom on masonry, showing that water has been passing through.
It is worth checking the loft after a heavy rain with the roof still wet, because that is when active leaks are easiest to see.
Signs in the rooms below
Water from a flashing leak typically shows up on the chimney breast or along an external wall, sometimes well away from the flashing itself, since the water runs along timbers or down the cavity before it appears. Look for brown or yellow stains on ceilings and walls around the breast, damp or peeling wallpaper on the chimney, a musty smell, mould on a wall that faces the weather and plaster that has gone soft or bubbled. A stain that grows after rain and shrinks in dry weather is a live leak. If you can trace it to a chimney or wall line, the flashing is a prime suspect. To follow a stain back to where the water gets in, see tracing a roof leak, which works through the common routes.
Not every stain is a flashing. Condensation, a faulty gutter or a cracked tile can cause something similar, and only an inspection settles it. If you see a bulge, a drip you can hear or water near wiring, treat it as an emergency, keep clear and call.
What each sign usually means
| Sign | Likely cause | Usual remedy |
|---|---|---|
| Lifted top edge | Pointing or wedges failed | Re-wedge and re-point |
| Split at a corner | Thermal fatigue or tight bossing | Patch or replace that piece |
| Ripples and sag | Lead too long or too thin | Replace in the right code and lengths |
| Sealant bead | An earlier leak, patched | Strip back and repair properly |
| Pinholes | Corrosion or abrasion | Replace the affected piece |
| Damp on chimney breast | Water passing behind the lead | Survey, then repair or replace |
Why flashings fail where they do
Understanding the cause helps you tell a one-off from a pattern. Flashings fail at corners and steps because that is where the metal is stretched, thinned and work-hardened by bending. They fail at the top because the chase is the place where weather, frost and sulphates attack the mortar. They fail at lower laps where debris collects and holds water against the metal. They fail along long runs where thermal movement builds up. And they fail where workmanship was poor in the first place: lead too light, pieces too long, fixing too few. Movement and specification are covered in more detail on the page about lead flashing lifespan.
Hard-to-see places that fail first
Some flashings are easy to see and some are almost hidden. The back gutter behind a chimney, the channel that carries water round the uphill side of the stack, is invisible from the ground and often forgotten. It collects leaves and moss, and holds water against the lead for days. When it fails, the leak appears on the chimney breast inside and is mistaken for rising damp or condensation. Soakers, the folded pieces slipped under the slates beside a wall, cannot be seen at all unless the tiles are lifted, and they corrode quietly. A flashing tucked behind a rooflight or a dormer cheek can leak for a long time before a stain shows.
That is why we look at these places on every survey as well as at the lead that is easy to photograph from the ladder, and we explain to you which parts we could and could not see. The back gutter, the soakers and the cheek junctions tell us more about the age of the leadwork than the apron on the front of the stack.
Weather clues
The pattern of leaks gives away the source. A stain that appears only in strong westerly rain suggests an exposed face of the stack or a gable abutment. One that shows after any rain at all points to an upper edge or a back gutter. One that appears after snow melts or after a thaw suggests frozen water forced under a lifted flashing. A leak that runs for a day after rain stops has probably been stored in the masonry or insulation, which means the entry point is higher and further away than the stain suggests. A note of the weather and the date of each leak, kept on a phone, makes the surveyor's job easier, and so does a photograph of each stain with something in frame to show its size.
What to do when you spot a sign
If you see one early sign, such as a slightly lifted edge or a loose bit of pointing, note it, photograph it and have it looked at within weeks, before the next stormy spell. If there is a stain or a drip, move more quickly. Do not climb up and smear sealant over the gap: that traps water and hides the fault, and it makes the proper repair harder. Our answer on whether sealant can repair a flashing explains why. If rain is coming in now, put a bucket under the drip, move belongings and ring a roofer who will make it safe.
When the survey is done, the decision between patching and renewing depends on how widespread the signs are. A single lifted edge with sound lead around it is a repair. Cracks at several corners, pinholes and layers of old sealant point to replacement. Our guide to lead flashing repair or replacement sets out that decision.
How we check
We start with the free survey. The surveyor goes up, examines the lead at close range, tests the pointing, checks the wall and stack and looks from the loft for staining and rot. You receive photographs of your own flashing with the faults marked, and where a repair will hold, that is what we recommend. Where it will not, we explain why and give a fixed written quote, backed by a 10-year workmanship guarantee in writing. The rest of our work with sheet metal is on the lead roofing and leadwork page. To get a flashing looked at, send a photo to our WhatsApp number or ring 01256 213956.
